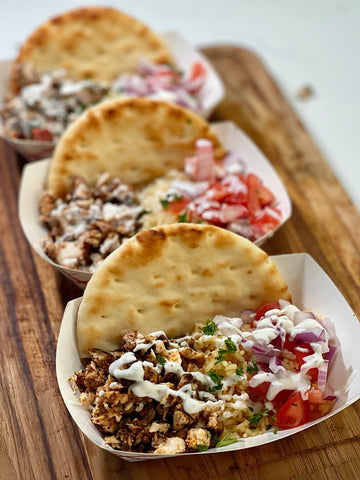
Hot Fries Chicken Over Rice. We adapted a classic New York style halal-cart food, kicking up the flavors with our Hot Fries Rub. (The below recipe is modified from Serious Eats)
Ingredients
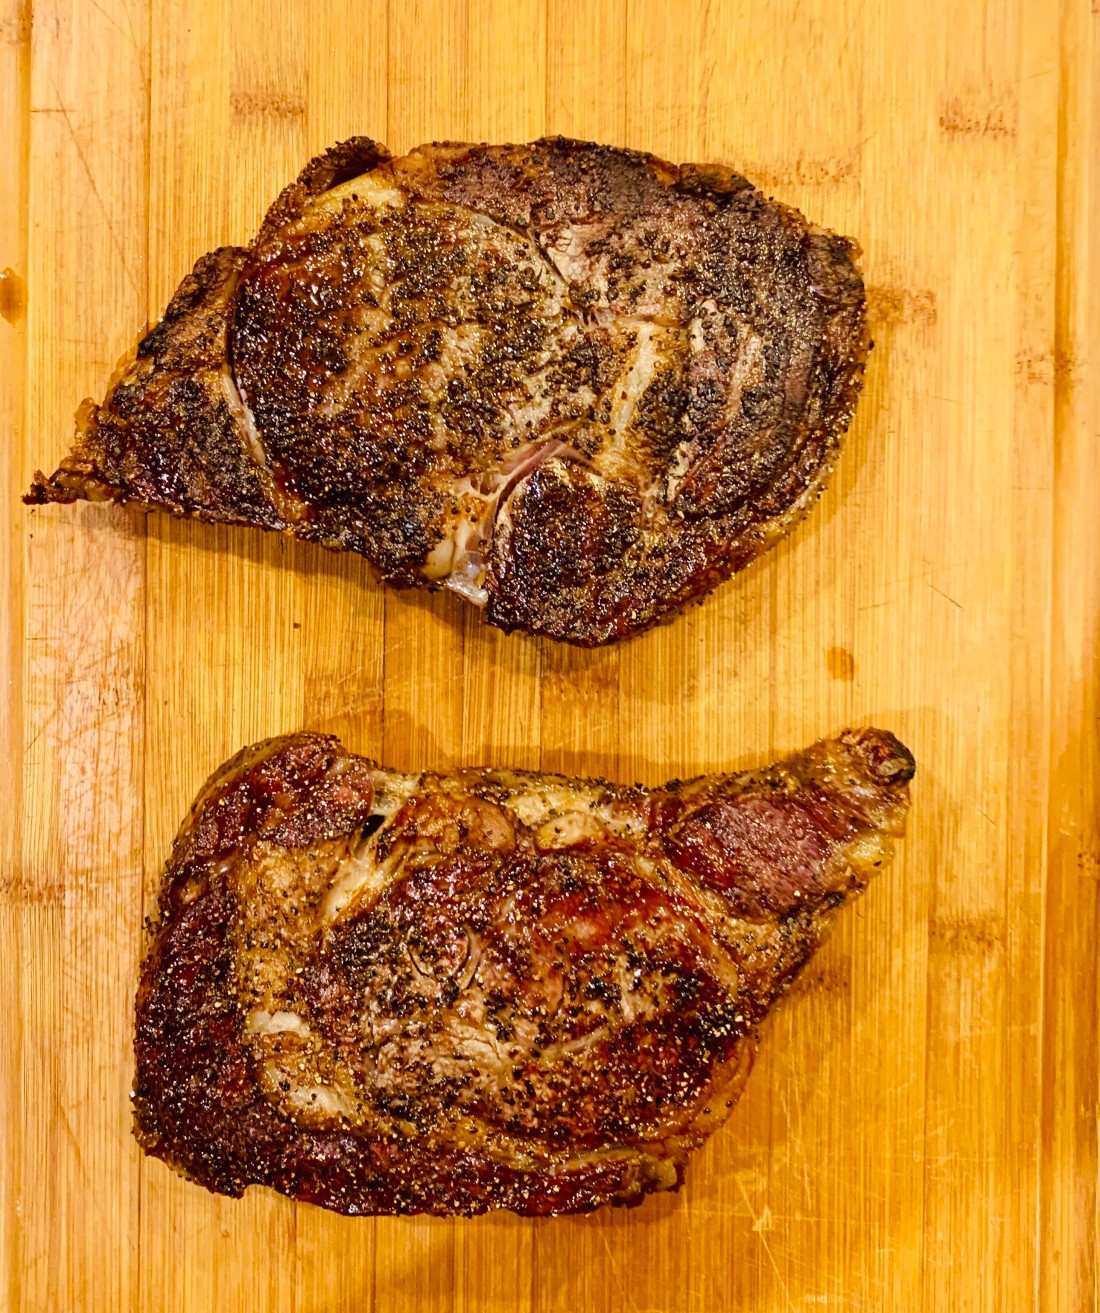
Hot Fries Chicken - grilled and chopped. See recipe here. We recommend cooking the chicken tandoor-style in a Kamado grill.
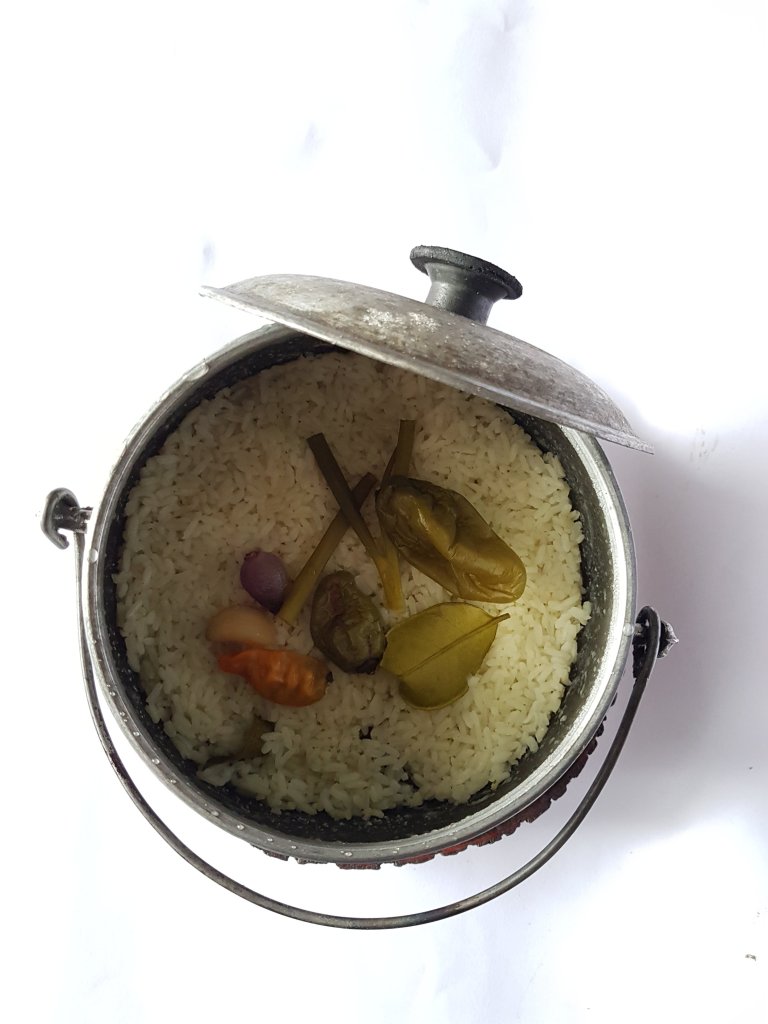
For the rice:
2 tablespoons unsalted butter, plus an extra 2 tablespoons to mix into rice after cooking (optional)
1 teaspoon Hot Fries Rub
1.5 cups long-grain or Basmati rice
3 cups chicken or vegetable broth
0.5 teaspoon table salt (or more to taste)
0.5 teaspoon ground black pepper
For the white sauce:
0.5 cup mayonnaise
0.5 cup Greek yogurt
1 tablespoon sugar
2 tablespoons white vinegar
1 teaspoon table salt
0.5 teaspoon ground black pepper
Other:
Chopped red onion
Diced roma tomatoes
Parsley, chopped (optional)
Pani Puri (or substitute chips), crushed (optional)
Directions:
To cook rice:
1.) Melt the butter over medium heat.
2.) Add Hot Fries Rub and cook until fragrant but not browned, about 1 minute.
3.) Add the rice and stir to coat.
4.) Cook, stirring frequently, until the rice is lightly toasted, about 4 minutes.
5.) Add the chicken or vegetable broth. Add salt and pepper; adjust salt to taste. Raise the heat to high and bring to a boil.
6.) Cover, reduce to a simmer, and cook for 5-10 minutes without disturbing (timing may vary depending on type of pot uses). Remove from the heat and allow to rest until the water is completely absorbed and the rice is tender, about 15 minutes.
7.) Add 2 tablespoons of butter to the rice and let it melt and mix in (optional).
For the white sauce:
1.) Mix all ingredients together.
Put it together:
1.) Lay down a layer of rice
2.) Add chicken to one side
3.) Add tomatoes and red onions to the other side
4.) Spread white sauce over the top
]]>